
How to Set Up OpenGrowBox with Home Assistant – Step-by-Step Guide
Learn how to install and configure OpenGrowBox with Home Assistant in minutes. Control climate, lighting, VPD, and sensors for your indoor grow – completely free and open source.
How to Set Up OpenGrowBox with Home Assistant – Step-by-Step Guide
OpenGrowBox turns your Home Assistant installation into a powerful, fully automated grow controller. In this guide, you'll learn how to install OpenGrowBox, connect your sensors, and have your first grow room up and running within the hour.
What You Need Before You Start
Before diving in, make sure you have the following ready:
- A running Home Assistant installation (OS or Container)
- A compatible device (Raspberry Pi 4, Intel NUC, or any Home Assistant-supported hardware)
- At least one sensor (temperature + humidity recommended – e.g. SHT31, AHT20, or any Zigbee, Z-Wave, Tasmota, or Govee sensor)
- Access to the Home Assistant Add-on Store or HACS
Pro Tip: Don't have Home Assistant yet? Install it on a Raspberry Pi 4 in under 20 minutes using the official Home Assistant OS image. It's free and the most popular smart home platform worldwide.
Step 1: Install OpenGrowBox via HACS
The easiest way to install OpenGrowBox is through HACS (Home Assistant Community Store).
- Open your Home Assistant dashboard
- Navigate to HACS → Integrations
- Click the + button and search for
OpenGrowBox - Click Download and confirm
- Restart Home Assistant when prompted
Alternative: If you prefer a manual installation, clone the OpenGrowBox repository directly into your /config/custom_components/ folder:
git clone https://github.com/OpenGrow-Box/OpenGrowBox.git
cp -r OpenGrowBox/custom_components/opengrowbox /config/custom_components/
Restart Home Assistant after the manual install.
Step 2: Add OpenGrowBox as an Integration
Once installed, add OpenGrowBox as an integration:
- Go to Settings → Devices & Services
- Click + Add Integration
- Search for
OpenGrowBox - Follow the setup wizard – you will be asked to name your grow room (e.g. "PlantRoom")
- Click Continue on the Devices Created screen
- Click Submit to finish
You can add multiple grow rooms by repeating this step. Each room gets its own independent set of automations, sensors, and controls.
Note: Restart Home Assistant after creating all needed rooms, or whenever you add a new one.
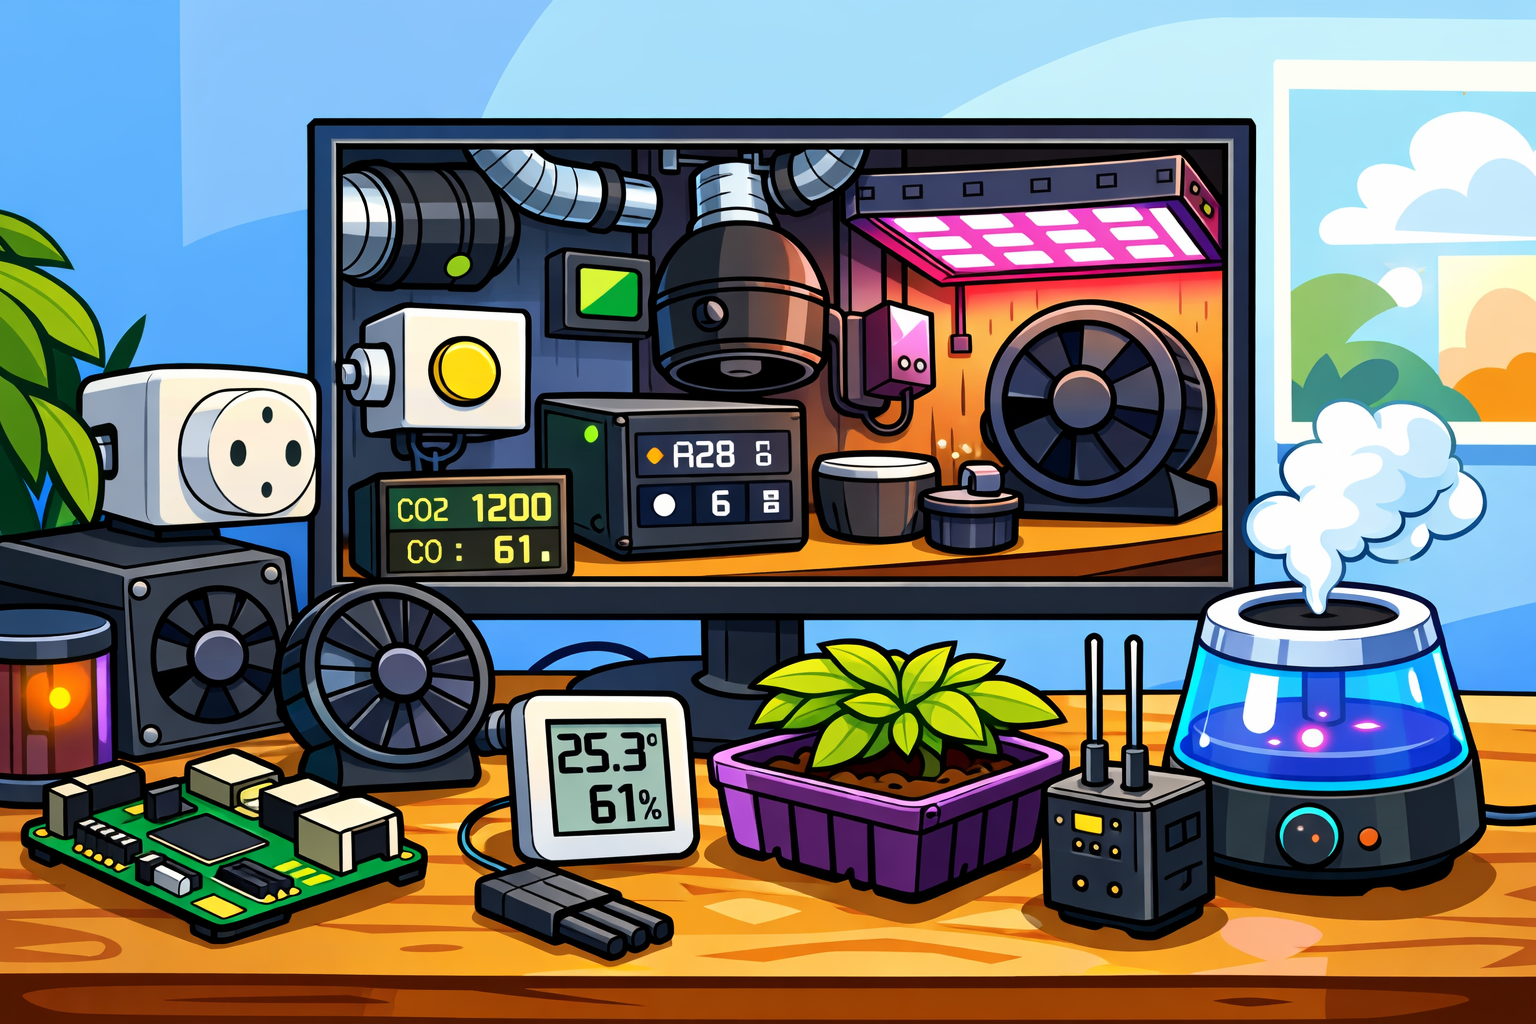
Step 3: Connect Your Sensors
OpenGrowBox works with virtually any sensor that Home Assistant supports – Zigbee, Z-Wave, ESPHome, MQTT, and more.
- Navigate to your sensor integration in Home Assistant
- Move the device to the newly created room
- Add the appropriate label to the device itself – the label "Sensor" allows OpenGrowBox to automatically identify temperature and humidity entities across more than 30 languages
Recommended starter sensors:
- SHT31 / AHT20 (via ESPHome) – accurate and affordable (~€5–10)
- Xiaomi LYWSD03MMC (Bluetooth, Zigbee) – popular in the grow community
- Sonoff SNZB-02 (Zigbee) – plug-and-play with Zigbee2MQTT
- Sonoff TH Elite / WEMOS D1 Mini (via Tasmota) – easy to flash, highly customizable
OpenGrowBox will immediately start reading your sensor data, display it in the dashboard, and calculate a VPD based on the average values of all your assigned sensors.
Step 4: Configure Your Grow Environment
Create a Home Assistant Long Live Token
- ** On first Start it will Prompt you for a token you need to enter thee your Home Assistant Long Live Token **
Now it's time to tell OpenGrowBox what your plant needs:
- Open the OpenGrowBox page from the left tab in your Home Assistant dashboard
- Choose the control mode you want to use
- Set your preferred VPD target or select a plant stage (depending on the chosen mode)
- Set your light schedule (on/off times)
- If needed, adjust the global device cooldown timers, custom min/max values, or individual device weights
What is VPD? Vapor Pressure Deficit is the difference between the maximum moisture the air can hold and how much it actually holds. Dialing in VPD ensures your plants transpire optimally – leading to faster growth and bigger yields. OpenGrowBox calculates and maintains your VPD target automatically.
Step 5: Connect Your Devices (Lights, Fans, Humidifier)
OpenGrowBox identifies and controls your physical devices through Home Assistant labels:
- Navigate to your device integration in Home Assistant
- Move the device to the newly created room
- Add the appropriate label to the device – OpenGrowBox will recognize it automatically across more than 30 languages
Supported labels:
- Exhaust
- Intake
- Ventilation
- Cooler
- Heater
- Pump
- CO2
- Climate
- Light
For the full list of supported labels, check the OpenGrowBox Wiki.
Once labeled, OpenGrowBox will automatically detect new devices within 3-minute intervals and start switching them on and off to maintain your target environment. No additional automation rules needed – OpenGrowBox handles everything.
Step 6: Enable Advanced Control Modes (Optional)
For experienced growers, OpenGrowBox offers powerful precision control modes:
- PID Controller: Keeps temperature and humidity rock-solid by calculating precise real-time corrections
- MPC Optimization: Model predictive control that anticipates changes before they happen
These features are available in the Premium Plan and can be unlocked directly from the OpenGrowBox dashboard.
Step 7: Monitor Your Grow
With everything set up, your OpenGrowBox dashboard gives you a real-time overview of your grow room:
- Live temperature, humidity, and VPD readings
- Light schedule status
- Device states (on/off)
- Historical charts for trend analysis
You can access the dashboard from any browser – on your phone, tablet, or desktop. With the Premium plan, you can also access it remotely from anywhere in the world via opengrowbox.net.
Troubleshooting: Common Setup Issues
Sensors not showing up? Make sure your sensor is already added to Home Assistant as an entity and has been assigned the correct label and room before OpenGrowBox can detect it. Go to Settings → Devices & Services to verify.
Devices not responding? Check that your smart plug or relay is added to Home Assistant and can be controlled manually first. OpenGrowBox can only control devices that Home Assistant already recognizes.
VPD values seem wrong? Make sure you have assigned both a temperature and a humidity sensor to the same room. VPD requires both values to calculate correctly.
You're Ready to Grow!
Congratulations – your OpenGrowBox setup is complete. Your grow room is now running on intelligent, automated climate control. No more manual checks, no more missed humidity spikes, no more guessing.
Join the OpenGrowBox community on Discord, Telegram or Github and share your setup – we'd love to see what you're growing.
Related Articles
No related articles found.